HOW TO CUSTOMIZE YOUR SHOES LIKE A PRO!
Do you want to know how to customize your shoes in a better way? Follow our steps to make your shoes to flourish.
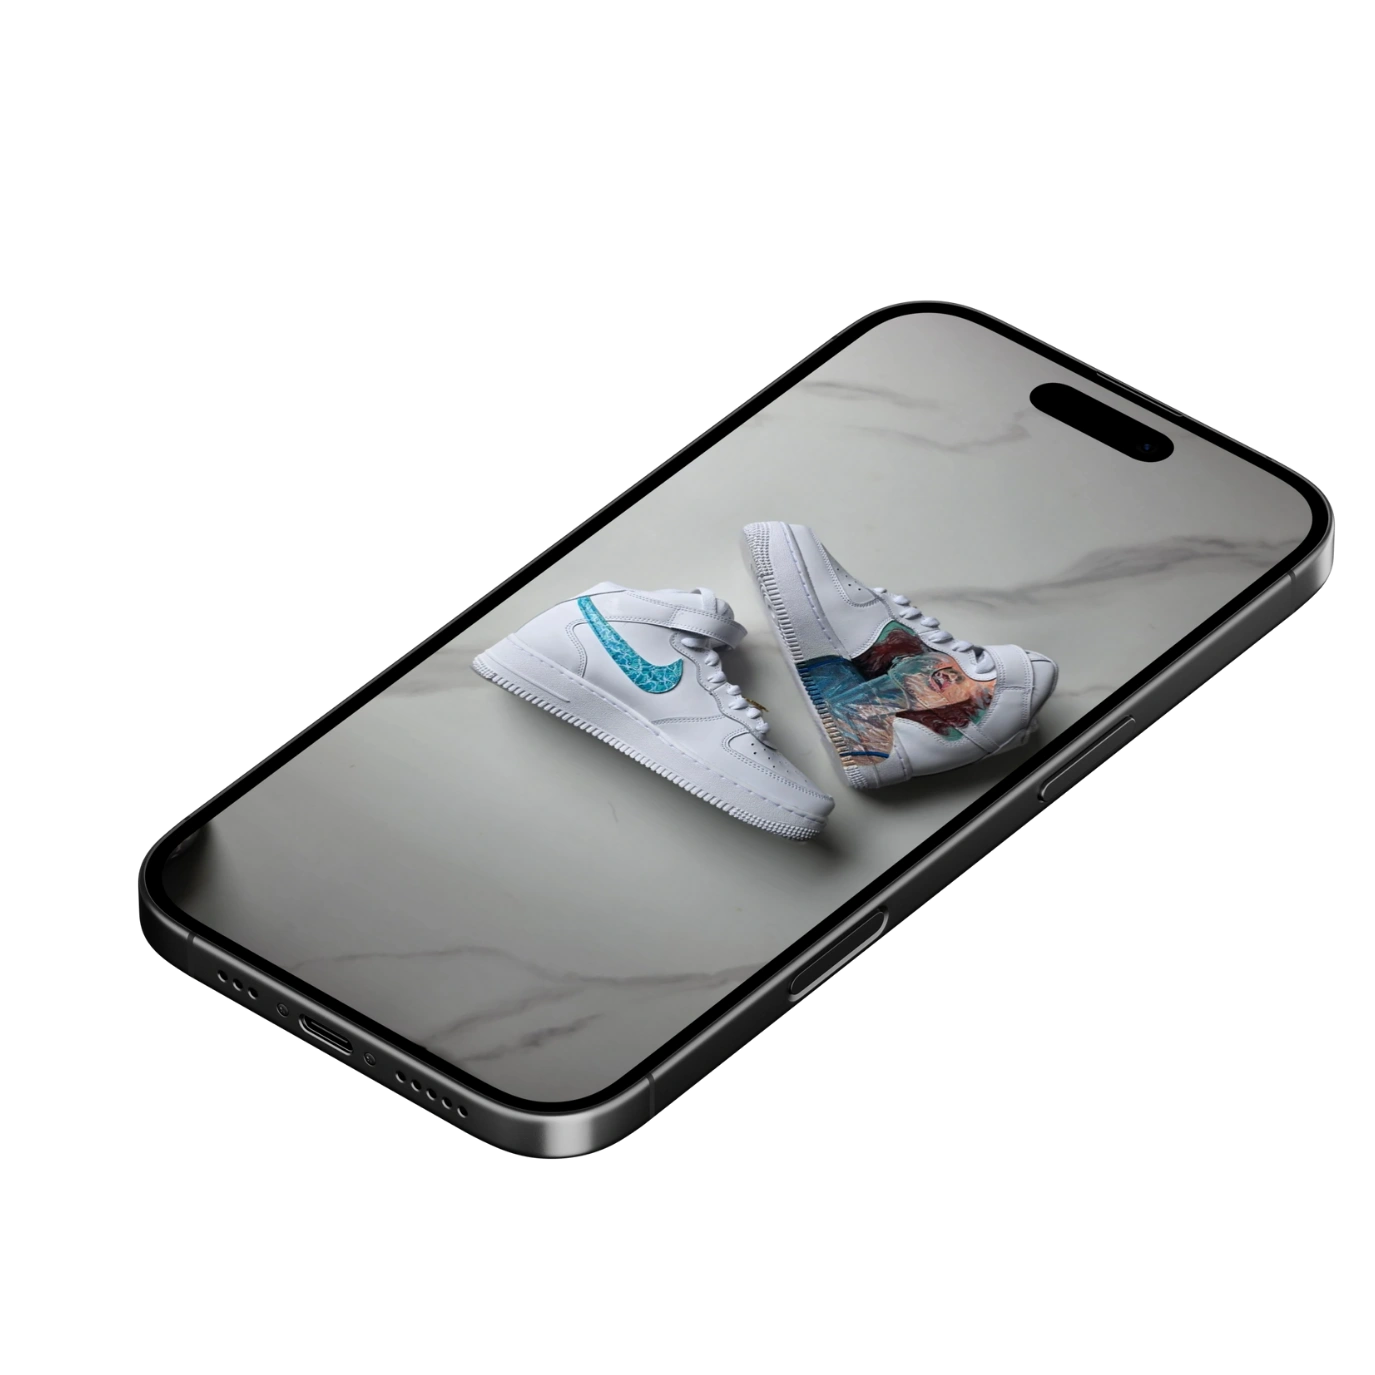
TOP BEST SHOES
TOP BEST SHOES
WHAT YOU WILL BE NEEDED:
Things that you need will be :
Angelus Paints
Angelus Finisher
Heat Gun
Masking Tape
Shoes
Acetone
Brushes

PROCEDURE:
Customizing your shoes not only allows you to express your individuality and creativity, but it also provides a unique way to showcase your style. Here’s a detailed guide on how to achieve the best results:
1. Select Your Shoes
To begin, select the shoes you wish to customize. It’s essential to choose pairs that offer a suitable surface for painting, such as canvas or leather. Classic choices include Air Force 1s, Vans, Air Jordans, or any sneaker that you feel can beautifully showcase your artistic vision. Moreover, click here to explore some of the best shoes for customization.
2. Prepare the Shoes
After selecting your shoes, unlace them completely to ensure you don’t accidentally get paint on the laces. This preparation not only makes it easier to work on every surface but also keeps your project organized.
3. Clean the Surface Thoroughly
Next, the cleaning step is crucial for ensuring the paint adheres properly. Use acetone and a clean cloth or cotton pad to wipe down the entire shoe, except for the sole if you plan to leave it unpainted. Acetone effectively removes the factory finish, as well as any dirt or oils that can interfere with paint adhesion. Therefore, this step is vital; without it, your paint might chip or peel off after application.
4. Mask Off Areas You Don’t Want to Paint
Now, use masking tape to cover any portions of the shoe that you want to protect from paint. This includes areas like the soles, logos, or any detailed designs you want to keep intact. Additionally, masking tape can help create sharp lines and protect against accidental paint splatters. Furthermore, you can use the tape for sketching designs or shapes directly onto the shoe surface before applying paint.
5. Allow Acetone to Dry
After cleaning, allow the acetone to dry completely. This step ensures that the surface is ready for paint without any lingering solvents that could affect adhesion.
6. Start Painting
When you’re ready to paint, it’s best to apply thin layers. Use a paintbrush or sponge to apply the paint evenly across the surface. Thin coats are essential for a smooth finish and help prevent drips or pooling. Moreover, patience is key here; allow each coat to dry thoroughly before adding another layer. This process ultimately ensures the colors are vibrant and long-lasting.
7. Use a Heat Gun to Speed Up Drying
After applying a layer of paint, you may choose to use a heat gun to accelerate the drying process. However, be cautious not to hold it too close to avoid damaging the shoe or the paint. Drying between layers helps to lock in the colors and keeps your design crisp.
8. Apply a Protective Finish
Once you’re satisfied with your painting, it’s time to add a finish. Use Angelus acrylic finisher or a similar product designed specifically for shoe customization. This coating not only protects your artwork from wear but also makes it flexible and water-resistant. Choose the type of finisher based on your needs—whether you want a matte or glossy finish, for example.
9. Final Touches and Drying
Finally, after applying the finisher, allow your shoes to dry completely. This drying time ensures that all layers are set and ready for use. Once dry, re-lace the shoes and check your design for any touch-ups you may want to make.
By following these detailed steps, you not only enhance the aesthetic of your shoes but also ensure that your customizations are durable and long-lasting. Enjoy showcasing your unique style and creativity!
Turn Your Sneakers into Art
would you like to design your shoes the way you imagine? Message us on Instagram and let’s customize your shoes just the way you want them.